Every full-home interior begins, long before the first cut is made, with a single number: how many sheets of plywood to buy. It is one of the least glamorous figures in the whole project and one of the most consequential. Order too little and the site stalls — the carpenter downs tools halfway through a carcass, waits days for a top-up delivery, and you discover the new batch does not quite match the old one in shade or thickness. Order too much and the surplus sits in a corner gathering dust and bowing against a wall — money turned into boards you will never use and a store-room you can no longer walk through.
The good news is that a plywood estimate is not guesswork. It is arithmetic, built up from the furniture you have actually decided to make. This guide sets out a straightforward room-by-room method: work in standard sheets, list every item of joinery, put a sensible sheet count against each, split the total by grade and by thickness, and finish with an honest allowance for wastage. Do it once, carefully, and a nervous guess at the timber counter becomes a costed, confident order — and a far more useful conversation with whoever will supply you.
Why the estimate is worth getting right
The two ways an estimate goes wrong pull in opposite directions, and both cost you. Under-ordering is the more disruptive. Plywood cannot always be replaced like for like the next morning; a fresh order may arrive on a different production run, and a wardrobe built half from one batch and half from another can show a step in colour or thickness that fights every joint. Meanwhile the labour stands idle, part-built cabinets sit open to dust, and the schedule slips.
Over-ordering feels safer but quietly wastes money. Surplus sheets are hard to return once delivered, they eat the space you need for working, and board left stacked and unsupported through a humid spell can warp before it is used. The aim is neither a shortfall nor a mountain, but enough to finish the job plus a deliberate buffer. Fixing the number early also anchors the budget: plywood is usually the largest single material line in an interior, and a firm sheet count lets you compare grades and ask for a real quotation rather than a vague one.
Work in sheets — the 8×4 unit
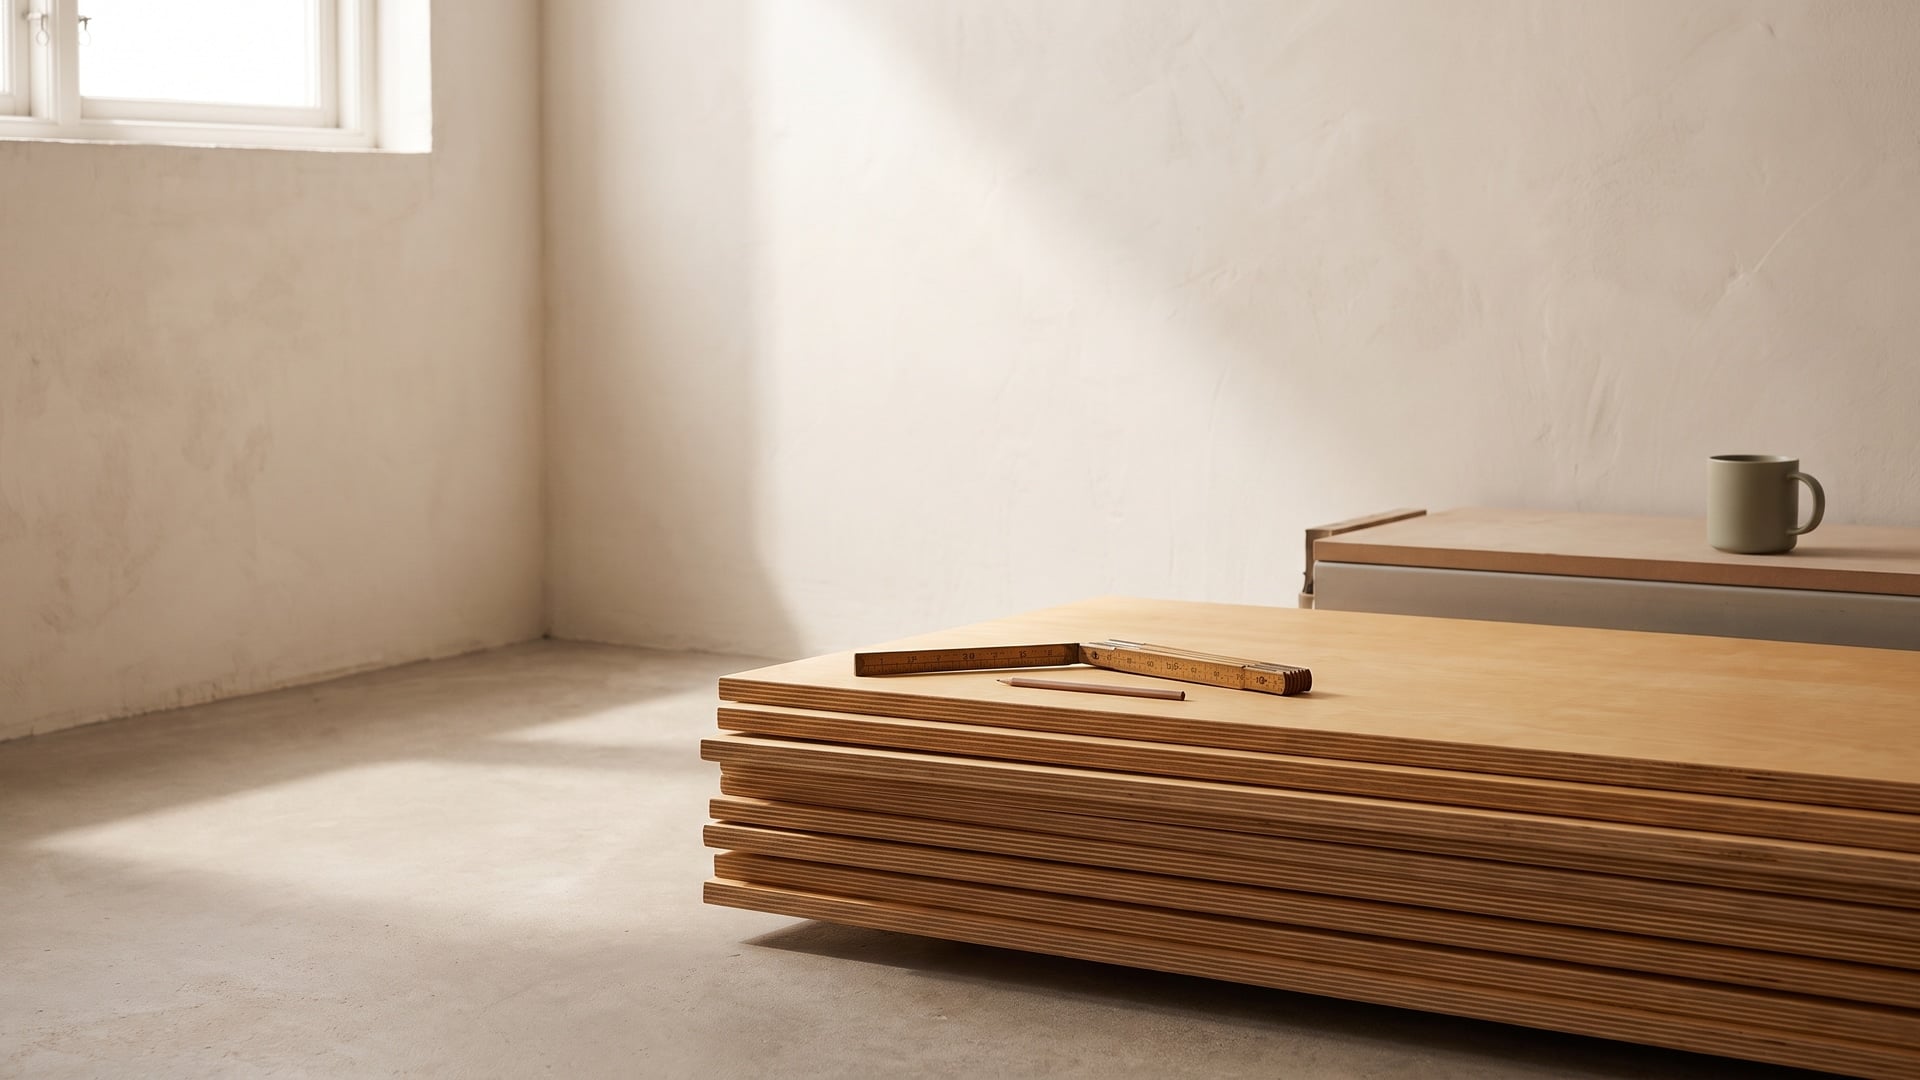
Plywood is bought, priced and cut in standard sheets, and in India the workhorse size is 8 ft by 4 ft — a full sheet of 32 square feet. That figure is the foundation of the exercise: estimating quantity is simply the work of converting furniture into a count of these 32 sq ft sheets.
There are two honest ways to do the conversion. The thorough way is to tally the surface area of every panel in a piece of furniture — the two sides, the top and bottom, each shelf, the back, the shutters — add them up in square feet and divide by 32. The fast way, good enough for ordering, is to use rules of thumb: a sheet count per item, or per running foot (one foot of width along a run of furniture). Most people use the rules of thumb for a working total, reserving the panel-by-panel tally for the one or two big, complicated pieces where precision earns its keep.
The method — itemise the joinery
The estimate is only as good as the list it stands on, so build the list first. Walk the home room by room and write down every piece of built-in joinery you intend to make in plywood — wardrobes, kitchen units, the TV wall, beds, crockery and utility cupboards, study tables, the shoe rack — leaving out loose, bought furniture. For each item, note its rough size — running feet, height, and how much internal storage it carries — because a cabinet crammed with shelves and drawers eats far more board than an empty box of the same outline.
Then work down the list in five short steps:
- Assign a sheet count to each item using the ranges below, or a quick panel tally for the big pieces.
- Tag each item by grade — wet-area or dry-area — so the wet ones can be ordered as BWP and the dry ones as MR.
- Note the thickness split within each item: thick board for carcasses, medium for shutters and shelves, thin for backs.
- Sum the counts separately for each grade, keeping the two totals apart.
- Add a wastage allowance to each total, and you have your order.
Typical sheet counts, item by item
These ranges are a starting point, not a rule. A piece packed with drawers, a loft and internal partitions sits at the top of its range or beyond; a simple, shallow one sits at the bottom. Use them to reach a first total, then adjust for what you know about each design.
- Full-height wardrobe — roughly 1 to 1.5 sheets per running foot. A 6 ft wide, floor-to-ceiling wardrobe therefore lands around 6 to 9 sheets, more if it is dense with drawers and carries a loft above.
- Kitchen, base plus wall units — a typical modular kitchen runs about 12 to 20 sheets all told, every one of them BWP. A compact straight kitchen needs less; a large L- or U-shaped layout with tall units needs more.
- TV and storage wall — about 4 to 8 sheets, depending on how much is open display against how much is closed, shelved storage.
- Bed with storage — around 3 to 5 sheets for a queen or king with a box or hydraulic storage base; add a sheet or two for attached bedside units.
- Crockery or utility unit — roughly 2 to 4 sheets for a tall unit, according to its height and shelving.
- Study or work table — about 2 to 3 sheets with a small overhead or side cabinet.
- Shoe rack — around 2 to 3 sheets for a full-height cabinet; less for a low bench-style rack.
Choose thickness by where the board goes
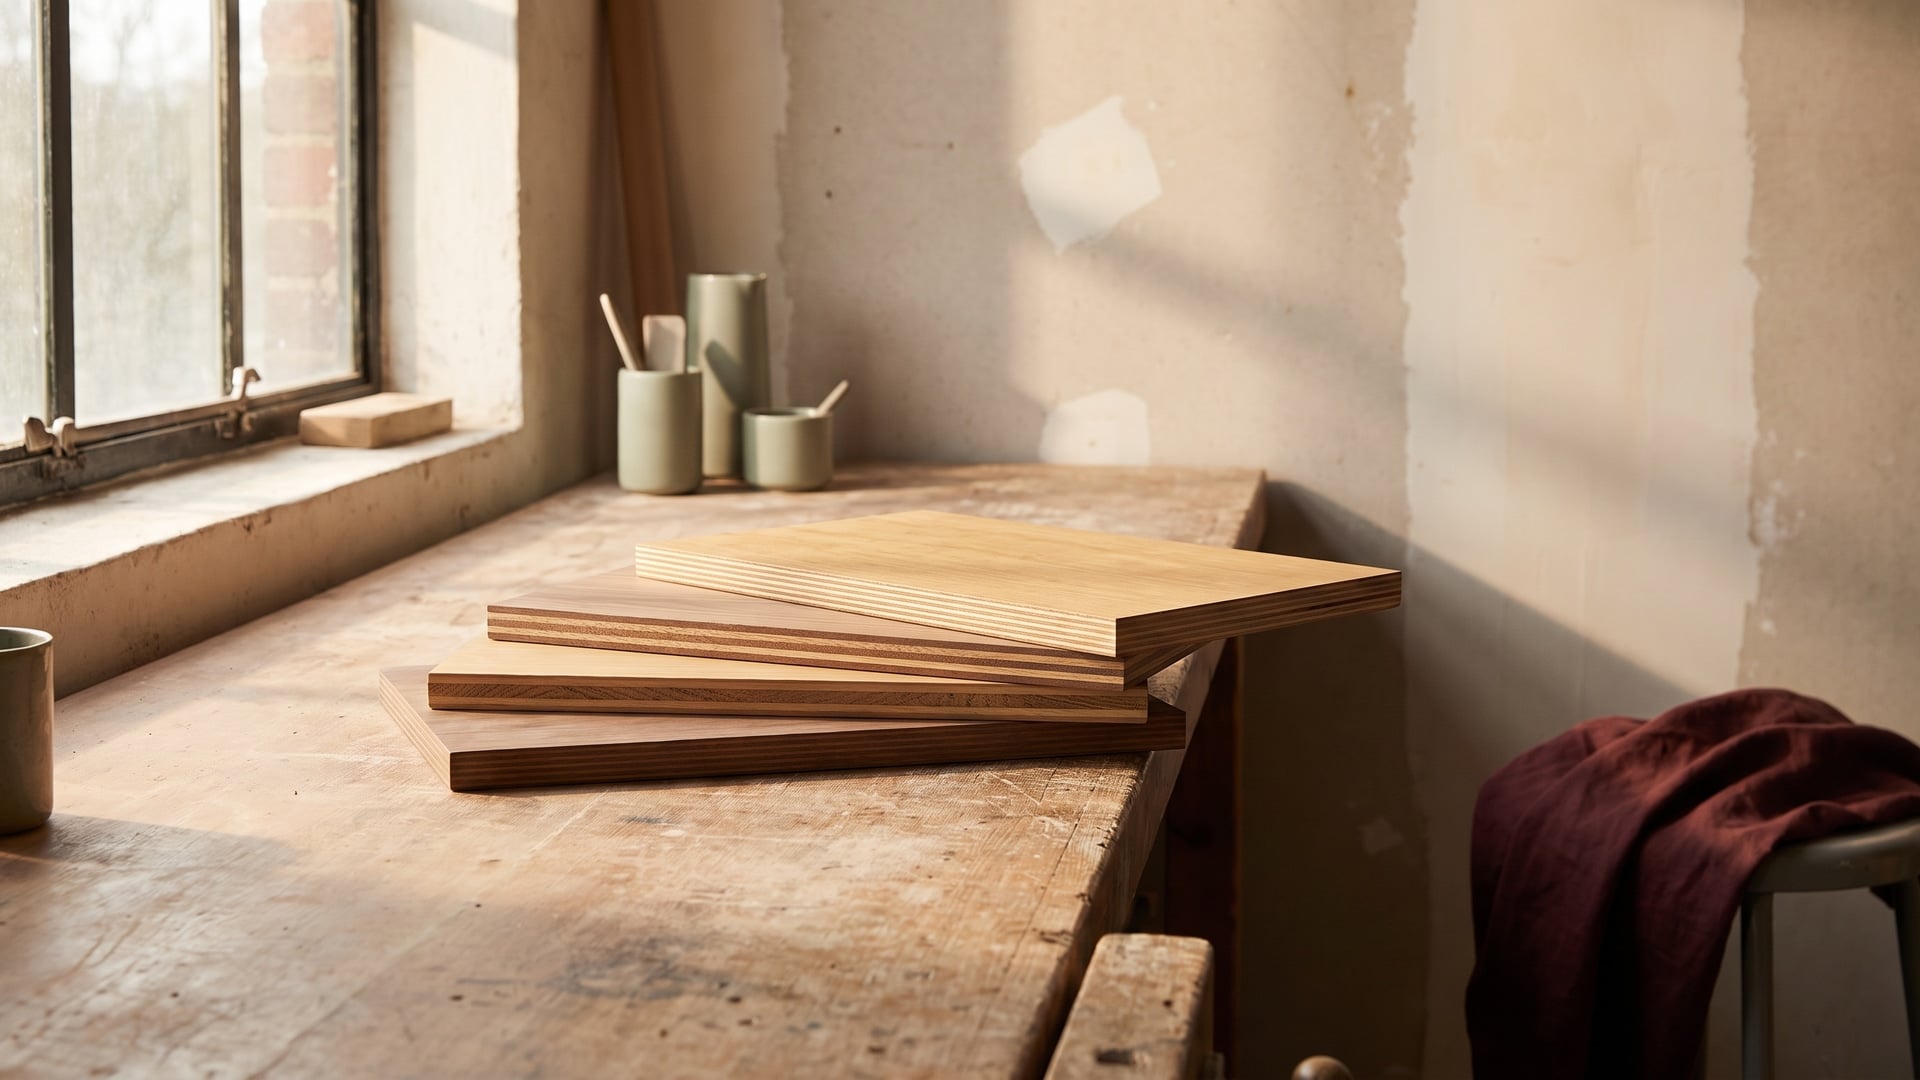
A sheet count alone does not place your order, because plywood comes in several thicknesses and each does a different job in a cabinet. Matching thickness to task keeps furniture strong without paying for board heavier than it needs to be:
- Around 18 mm for carcasses — the structural body of a unit: sides, tops, bottoms, vertical partitions and any load-bearing shelf. This is the board that holds screws, carries weight and keeps a cabinet square.
- Around 12 mm for shutters and lighter shelves, where a thinner board keeps doors from sagging on their hinges.
- Thin ply, around 6 mm, for cabinet backs and drawer bottoms — panels that close a box and keep it rigid but bear no real load.
So each grade total splits further by thickness: you buy so many 18 mm sheets, so many 12 mm and a few thin backs, with the largest share, for most furniture, in 18 mm carcass board.
Split the order by grade — two orders in one
Here is the step that separates a good estimate from a lazy one: do not average the grade across the house. The moment you tag each item wet or dry, your single list becomes two orders. Everything that lives with water — the kitchen base and wall units, the utility cupboard, a bathroom vanity, anything against a wall prone to seepage — is counted and ordered as BWP (IS:710) boiling-waterproof board. Everything in the dry rooms — bedroom wardrobes, the TV wall, beds, study tables, the shoe rack, display units — is counted and ordered as MR (IS:303) moisture-resistant board.
Keeping the two totals apart is not fussiness; it is how you avoid the twin mistakes of paying a marine-grade premium for a dry wardrobe and, far worse, slipping cheaper MR board under a sink where India's monsoon humidity and standing damp will find it out within a season or two. Count the wet items in one column and the dry in another, and each grade lands where it does real work. Insist on the genuine ISI mark carrying the correct IS number on both, so the grade you estimated is the grade you receive.
A worked example — a typical 2BHK
Put the method to work on a fully fitted two-bedroom flat; the list might read like this. In the master bedroom: a 6 ft wardrobe at roughly 7 sheets, a storage bed at 4, and a compact study-cum-dresser at 2. In the second bedroom: a 5 ft wardrobe at about 6 sheets and a storage bed at 3. In the living and dining area: a TV and storage wall at 6, a display-cum-crockery unit at 3, and a shoe rack by the entrance at 2. All of these are dry-area pieces, so they are MR, and they sum to 33 sheets.
Now the wet zones. The kitchen, with base and wall units, takes about 15 sheets; a small utility cupboard adds 2; a bathroom vanity adds 1. These are BWP, and they sum to 18 sheets. So before any allowance, the flat needs roughly 33 MR and 18 BWP, or 51 sheets in all — two totals that stay separate all the way to the counter, each dividing again into 18 mm carcass board, 12 mm shutters and shelves, and a few thin backs.
Add wastage, and buy the batch together
No sheet cuts up perfectly. Panels rarely nest to fill an 8×4 rectangle without offcuts; edges get trimmed, the occasional cut goes wrong, and grain or veneer direction can force a less economical layout. So every estimate needs a wastage allowance on top of the tally. For straightforward, box-led joinery, add 10 to 15 per cent. For intricate designs — many small parts, curved or profiled work, lots of cut-outs, or grain-matched veneer where offcuts cannot be reused — push the allowance higher, towards 15 to 20 per cent, because small and fiddly parts waste board fastest.
Applied to the 2BHK, a 12 per cent allowance turns 33 MR sheets into about 37 and 18 BWP into about 20 — a final order of roughly 37 MR and 20 BWP, near enough 57 sheets. There is also an advantage in buying each grade all at once rather than in dribs and drabs. A matching batch comes from consistent production — the same shade, calibrated thickness and behaviour panel to panel — so cabinets side by side actually match; the boards can be nested across the whole project to trim waste; and you never run short mid-build and chase a top-up that fails to match.
From list to quote — take it to the counter
The itemised list is the quiet hero of the whole process. A number scribbled on the back of a bill invites a rough, padded quote; a proper list — every unit named, its sheet count, its grade and its thickness split — turns the conversation into a real one. A good supplier can flag where you have under- or over-counted, optimise how the sheets are cut, and confirm the grades and thicknesses suit each job. Because Urbanika sells on One India · One Price, the sheet costs the same wherever you buy, so the estimate you build is the estimate you pay — no haggling, no surprises woven into the number.
None of this is complicated, and that is the point. Work in 32 sq ft sheets, list every piece of joinery, count the sheets each needs, keep the wet BWP order and the dry MR order firmly apart, split each by thickness, and add an honest 10 to 15 per cent for wastage. Carry that list to the counter and the guess becomes a costed order in one matching batch, sized to finish the home without the site stalling for a sheet or the store-room filling with boards you did not need. Estimate it properly once, and the plywood becomes the easy part of the project rather than the anxious one.