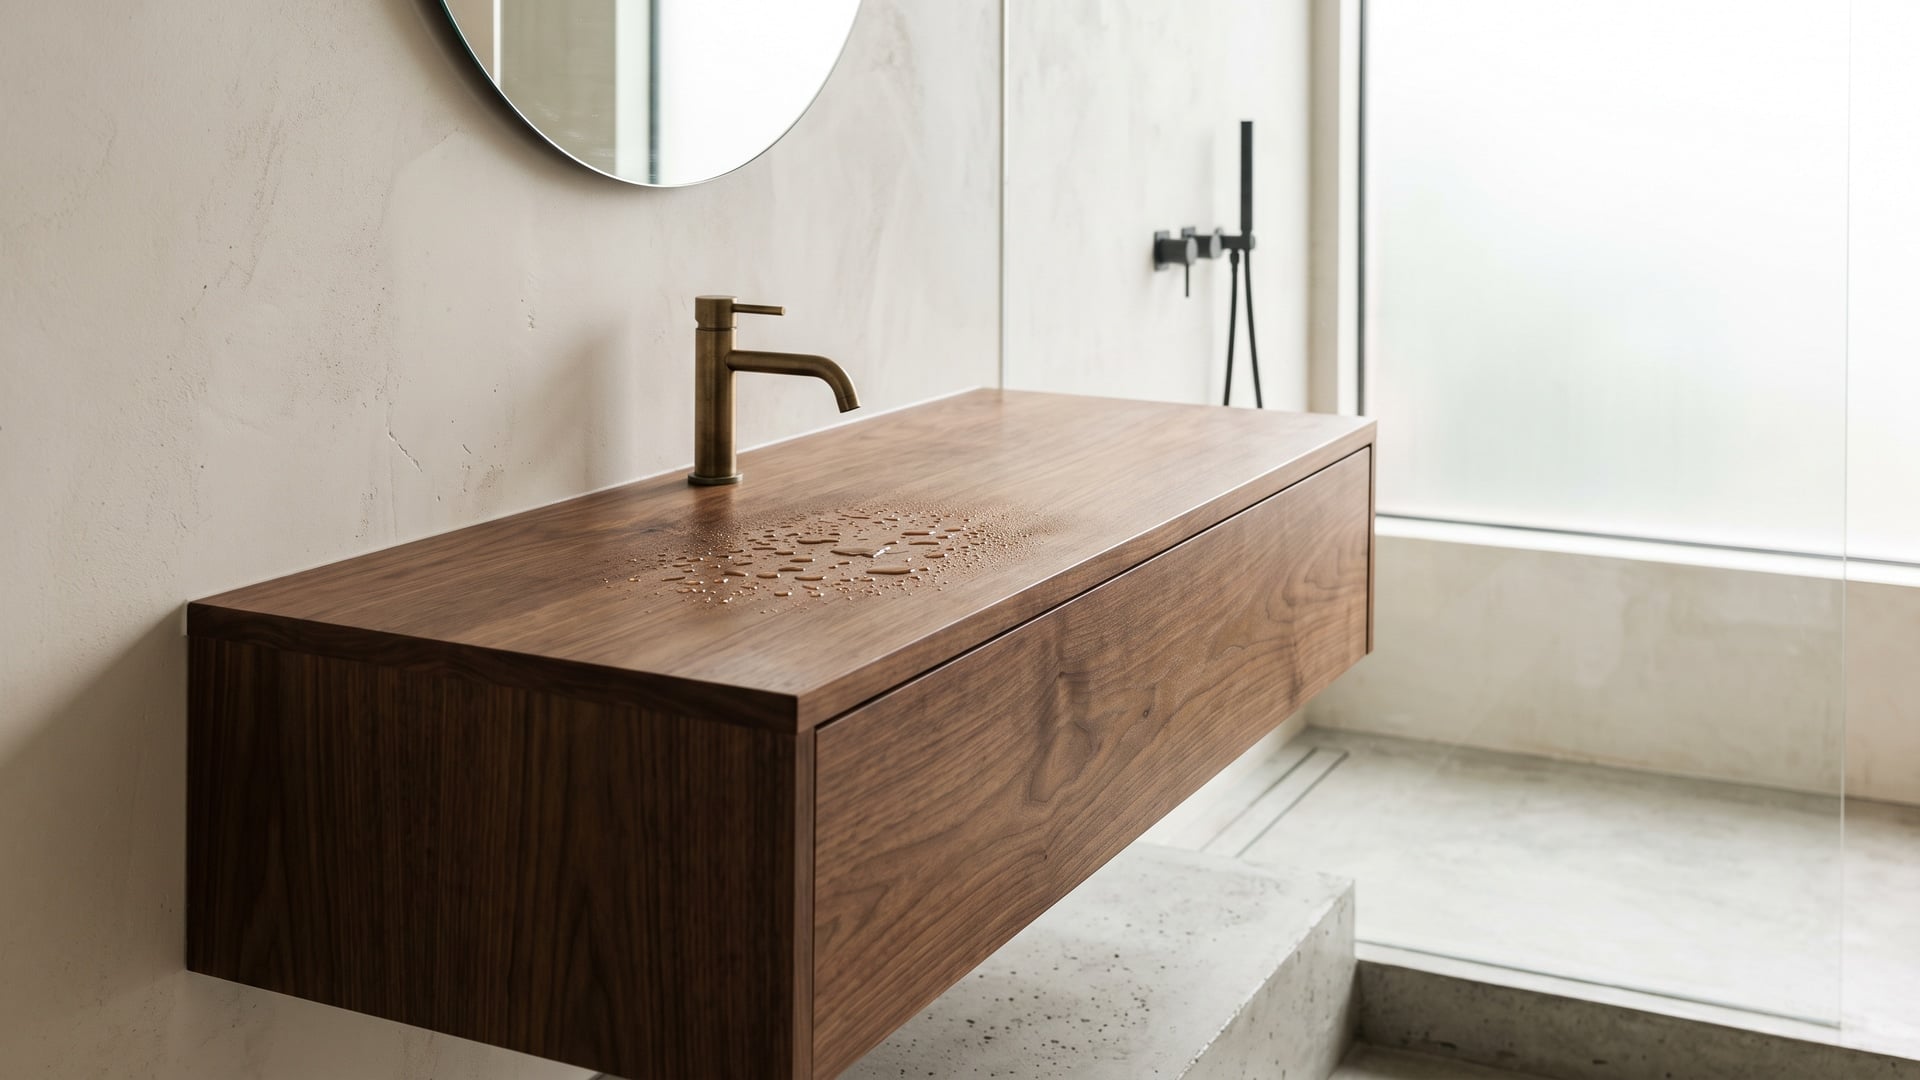
Every home has rooms that forgive and rooms that do not. A bedroom wardrobe can carry a small mistake for years without complaint. A kitchen base unit or a bathroom vanity cannot. These are the wettest rooms in the house, and water is the most patient adversary joinery will ever face — it does not hammer at a weak point, it waits at it. A cut edge left unsealed, a screw hole no one thought about, a cabinet sitting flush on a floor that gets washed down every morning: none of these fail on day one. They fail slowly, quietly, and then all at once, usually a few years in, by which time the cause is buried behind a plinth or hidden under a sink.
The good news is that wet-area failures are almost entirely predictable, and therefore almost entirely preventable. They come from a short list of mistakes made early — the wrong board, an unsealed edge, no room to dry, a carcass wicking water up off the floor. Get those right at the start and the same joinery that would otherwise have swelled and delaminated will instead outlast the tiles around it. What follows is a practical playbook for building kitchens and bathrooms that survive the punishment we ask of them.
Start with the right board
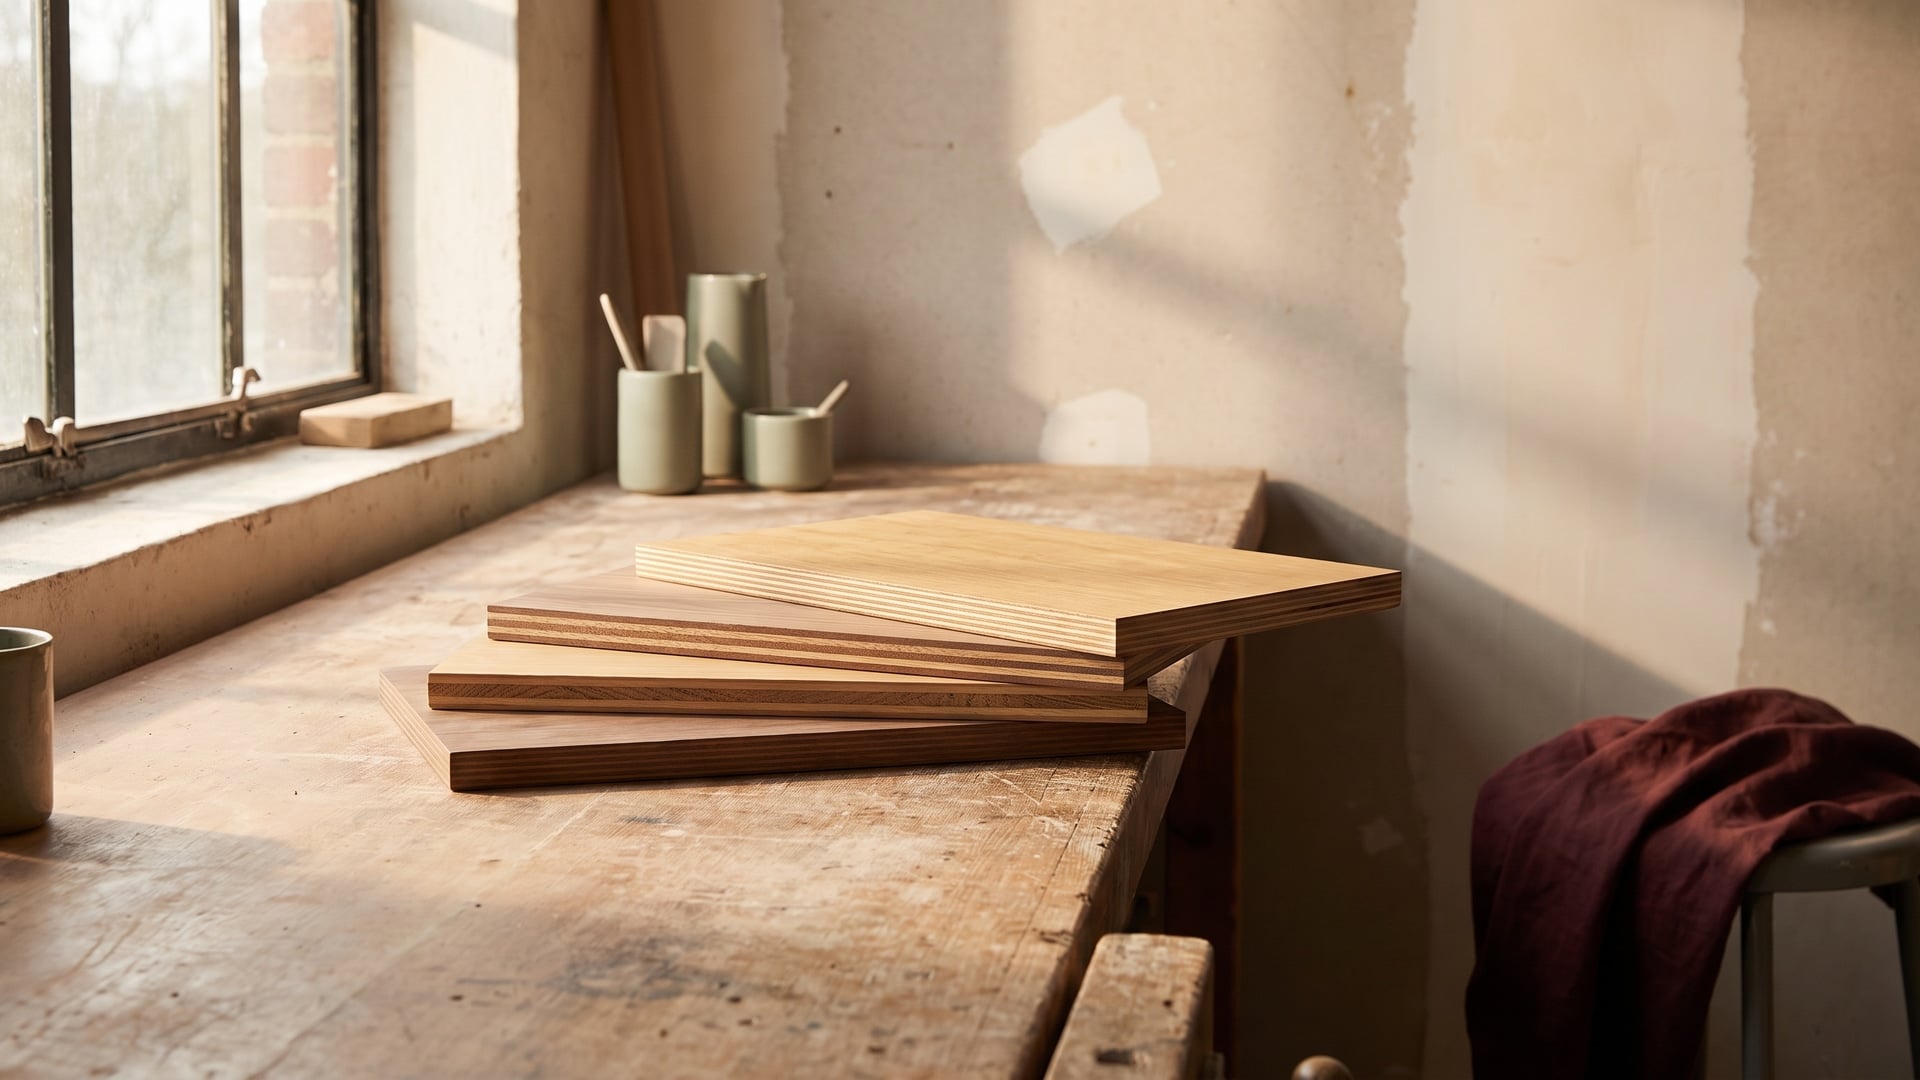
No amount of careful installation can rescue a board that was never meant to live near standing water. This is the first decision and the one most often got wrong, usually to save a little money on the very sheet that matters most. In wet zones the honest answer is simple: this is BWP and marine territory, full stop.
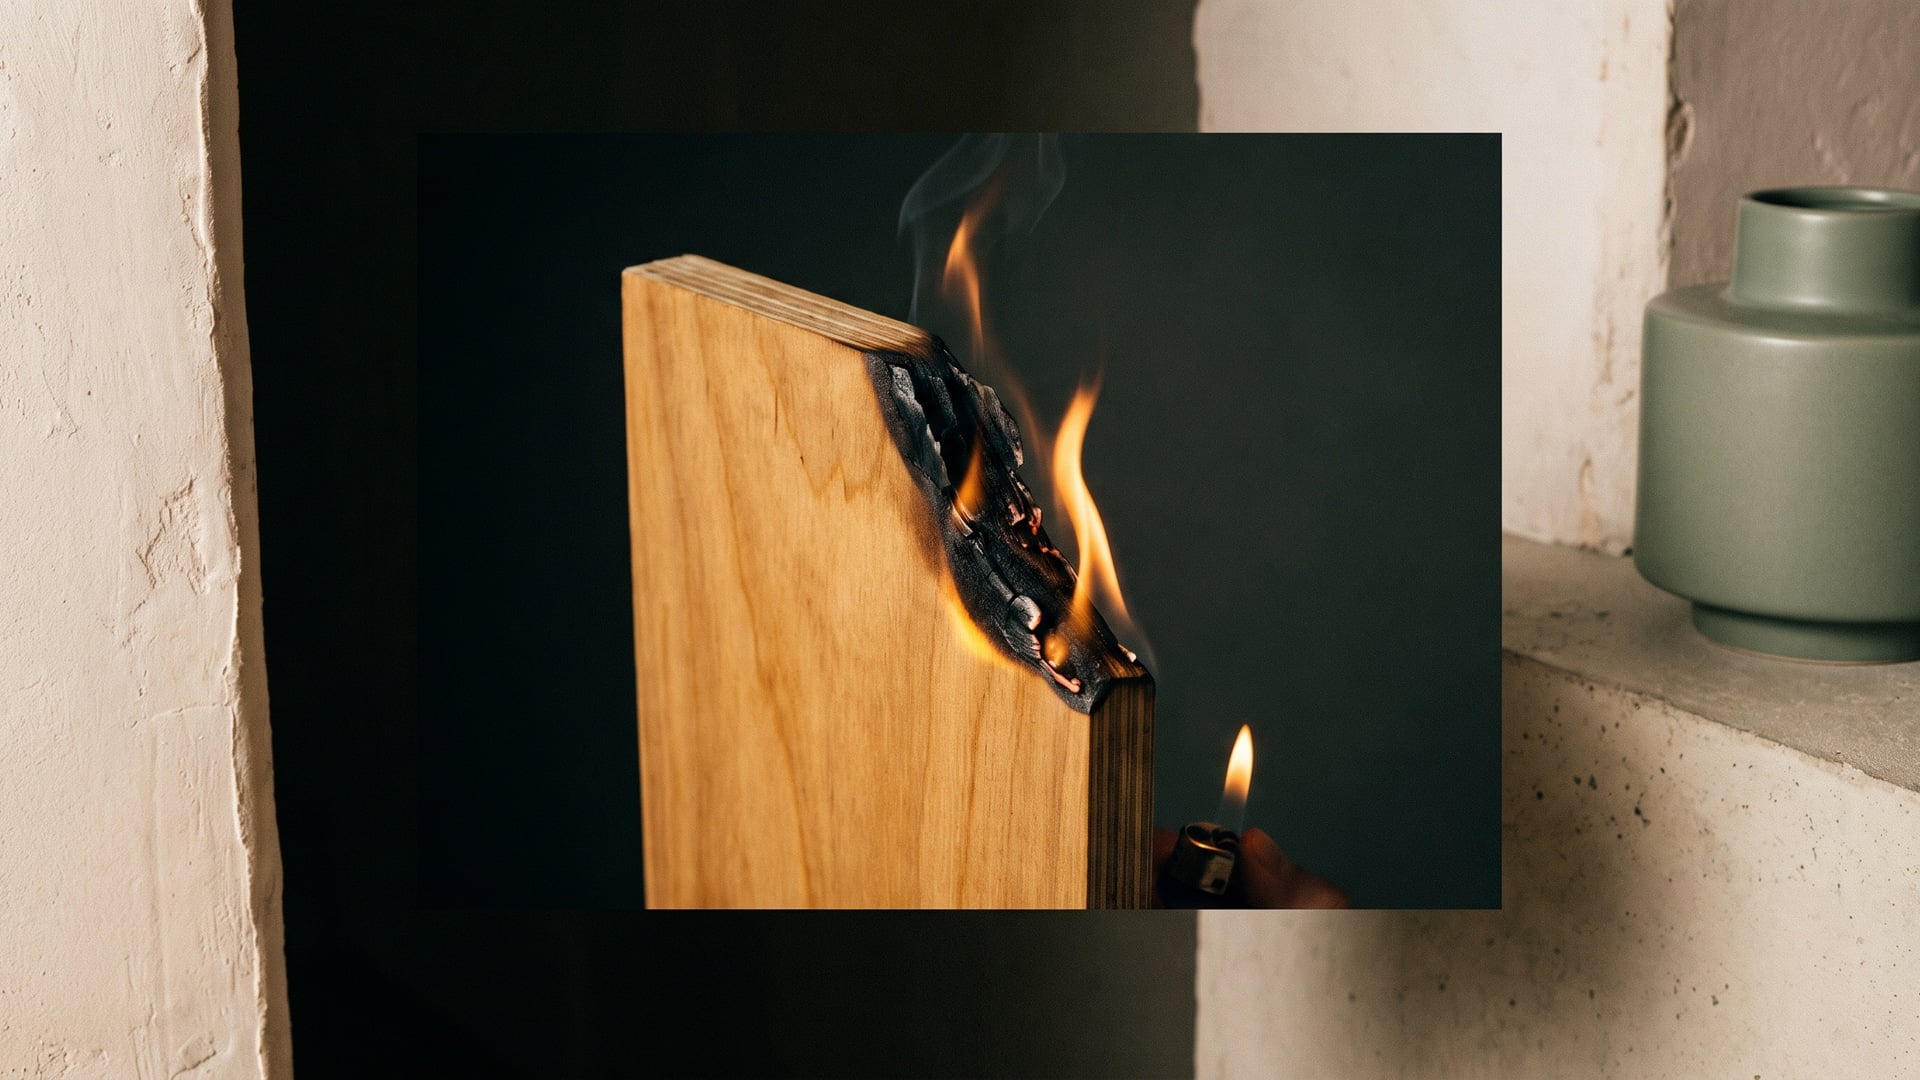
The difference between grades is not marketing, it is chemistry. Ordinary moisture-resistant (MR) plywood is bonded with urea-formaldehyde resin, which softens and lets go when it is soaked. Boiling-water-proof (BWP) and marine-grade plywood, made to IS:710, are bonded with phenol-formaldehyde — the waterproof resin family that holds up under prolonged wetting and even boiling. Pair that glue line with sound, gap-free core veneers and you have a board that can take the occasional flood without coming apart.
Match the board to the job:
- Kitchen base units, under-sink carcasses and bathroom vanities — BWP or marine (IS:710) plywood, without exception.
- Wall units and tall units away from direct wetting — BWR grade is workable, though BWP costs little more and removes the doubt.
- Dry-room furniture — MR grade is perfectly fine, and there is no need to over-specify.
- Persistently soaked spots, such as a vanity floor beneath a dripping trap — consider a wood-plastic composite (WPC) or PVC board, which does not care about water at all.
- Avoid plain MDF and unprotected particle board anywhere near a wet zone; they drink water at the edges and swell irreversibly.
Seal every vulnerable point
A waterproof board is only waterproof where it is sealed. Water does not attack the finished face of a good laminate; it goes looking for the way in, and the way in is always an edge, a cut-out or a hole. Every place the saw or the drill has opened up the core is an invitation, and every one of them has to be closed. Treat these as non-negotiable:
- Cut edges — every panel edge, and especially the exposed edges of a sink cabinet, should be edge-banded or coated with a waterproof sealant so the core is never left bare.
- Sink, hob and basin cut-outs — the freshly sawn edge inside a cut-out sits directly under running water. Seal it thoroughly with a waterproof adhesive or sealant before the fitting goes in.
- Screw holes and fixings — each hole pierces the sealed surface. A dab of sealant on the screw before it is driven home keeps water from tracking down the thread into the core.
- Every joint — assemble with a waterproof adhesive rather than an ordinary interior glue, so the joints themselves resist water instead of wicking it.
- Around every fixture — run a continuous bead of neutral-cure silicone around sinks, hobs and basins, and along the junction where the countertop meets the wall. That seam is what keeps splashed water on the surface instead of behind the units, and it wants re-checking every year.
Design so everything can dry
Here is the idea that changes everything, and the one most people miss: damp that can dry does far less damage than damp that is trapped. Wood and wood-based boards live with moisture all the time; what destroys them is moisture with nowhere to go. Design for air movement and small amounts of water become a non-event.
That means building in the ability to breathe. Leave a small gap — a few millimetres — behind base and wall cabinets rather than pressing them tight to the tiles, so any moisture behind them can evaporate instead of festering. Keep the under-sink zone ventilated rather than sealing it into an airtight box, and glance inside it now and then; it is the likeliest place for a slow leak to hide. And build the simplest habit of all into daily use: wipe up standing water rather than letting it pool against a plinth or in a corner. A worktop wiped down after cooking, a vanity dried after the morning rush — these cost nothing, and they are what let well-built joinery stay well.
Lift the carcass off the floor
In most Indian kitchens and bathrooms the floor gets wet — properly wet, not merely splashed. Floors are swabbed and washed down daily, and water runs to the edges of the room, exactly where the cabinets stand. A carcass sitting flat on that floor behaves like a wick, drawing water straight up into the most vulnerable part of the unit: the bottom panel and the lower few centimetres of the sides.
The fix is to get the box up off the wet. Stand base units on adjustable legs or a proper plinth so the carcass never touches the floor and there is an air gap beneath that dries out between washes. A slightly recessed plinth also keeps mopping water from pressing against the cabinet bottom. It is a small detail at the building stage and almost impossible to retrofit once the kitchen is in — which is exactly why it belongs on the drawing, not the wish list.
Fittings and the metals that survive
The board can be perfect and the unit still spoilt by a rusted hinge weeping an orange stain down a pale door. Wet-zone air is hard on metal, and India's humid and coastal conditions are harder still. Specify hardware built to cope — stainless steel or properly rust-treated hinges, runners and handles — rather than the cheapest plain-steel fittings, which can corrode within a couple of monsoons. In a room you have taken the trouble to waterproof, the fittings are the last thing you want rusting from the inside out.
Maintain the seals: a ten-minute habit
Silicone is not permanent. It shrinks, it lifts at the edges, it grows a black line of mould, and eventually it stops keeping water where it belongs. The single cheapest piece of insurance a kitchen or bathroom ever gets is a short, deliberate check once a year. Walk the wet zones and look hard at everything that is meant to keep water out:
- Run a finger along the silicone around sinks, hobs, basins and the countertop-to-wall junction. Any gap, crack, lifting edge or mould line means it is time to strip that bead out and lay a fresh one.
- Open the under-sink cabinet and look, and smell, for damp, staining or a musty note that says a slow leak has begun.
- Check the edge banding and cut-out seals for anything peeling or swollen, and reseal before the core is exposed.
- Look over the hinges and runners for early rust, and the plinth line for water sitting where it ought to be draining away.
Ten minutes, once a year, catches every one of these while it is still a dab of sealant rather than a replaced cabinet.
The monsoon, humidity and hard water
Everything above matters more in India than in a temperate climate, because our conditions are genuinely tougher on joinery. For weeks during the monsoon the air itself is saturated; ambient humidity stays high for months, water evaporates slowly, and anything already damp simply stays damp. This is precisely the environment in which trapped moisture does its worst work, and in which the room-to-dry principle earns its keep. In coastal cities you can add salt-laden air that accelerates every kind of corrosion.
Hard water is the other quiet culprit. Across much of the country the supply is mineral-heavy, and wherever it dries it leaves a chalky scale — around taps, mixers, drain fittings and the rims of sinks and basins. That scale holds dampness against surfaces and builds up wherever water is allowed to sit. The countermeasures are the ones we have already met, applied with a little more discipline: sound waterproof boards, seals you actually maintain, fittings chosen to resist corrosion, and the daily habit of wiping standing water and mineral deposits away before they settle in. Build for the worst weeks of the year and the rest look after themselves.
Your wet-area checklist
Whether you are briefing a carpenter, checking a fit-out before handover or auditing a kitchen you already live with, run through this:
- Right board — BWP or marine (IS:710) plywood in every unit that meets water; MR kept to dry rooms.
- Sealed edges — all cut edges, sink and hob cut-outs and screw holes sealed against the core.
- Waterproof joints — units assembled with a waterproof adhesive throughout.
- Silicone in place — continuous, intact beads around sinks, hobs, basins and the countertop-to-wall junction.
- Room to dry — a small gap behind cabinets and a ventilated, inspectable under-sink zone.
- Off the floor — base units on legs or a plinth, never sitting flat on a wet floor.
- Rustproof fittings — stainless or rust-treated hinges, runners and handles.
- A yearly date — ten minutes booked in to check the seals and re-seal what needs it.
The four things that matter
Strip all of it back and wet-area joinery comes down to four things, in order. Start with the right board, because nothing downstream can fix the wrong one. Seal every edge, cut-out and hole, because a waterproof board is only waterproof where it is closed. Give everything room to dry, because trapped damp is the real destroyer while damp that can escape is mostly harmless. And keep the carcass up off the wet floor, so the unit is never standing in the water it is trying to survive.
Do those four well and the yearly ten-minute check keeps them honest for decades. Kitchens and bathrooms are where joinery either proves itself or fails — and with the right board beneath sealed edges, given room to dry and lifted clear of the floor, it proves itself. That is the whole of it: right board, sealed edges, room to dry, and wet-area joinery lasts.